I was commissioned to make a cover for the top of a piano to coordinate with a painting hanging next to the piano. The magical, abstract impressionistic painting with vivid colors of greens, oranges and purples of a woman wearing a hat standing in a field of flowers sets the mood for the small, intimate music room. My goal was to make the felted piece have the same feeling as the painting by creating organic, textural, abstract flowers.
 |
| This is the painting in the room. One of my ponchos currently sits on the top of the piano. I was commissioned to make a larger felted piece to coordinate with the painting. |
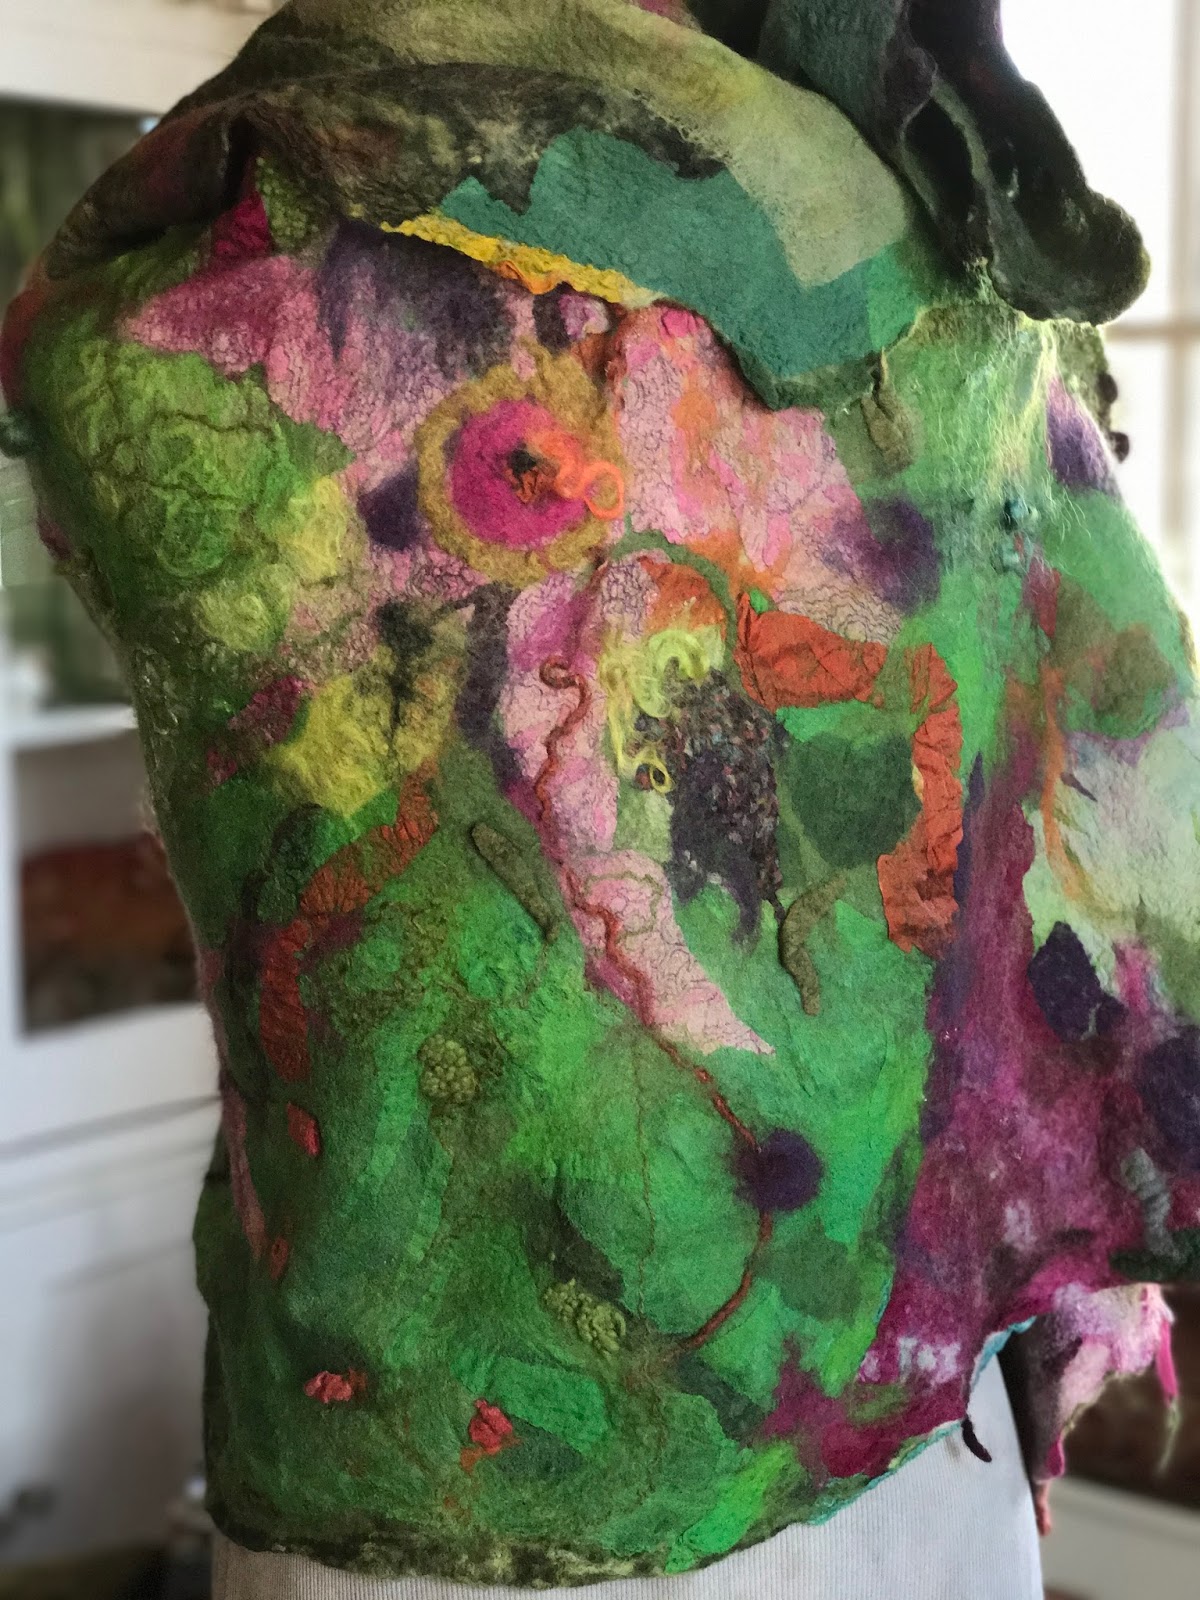
Although the felted piece was made to be a piano cover, it also makes a terrific shawl worn right side out or inside out. There is no right or wrong way.
 |
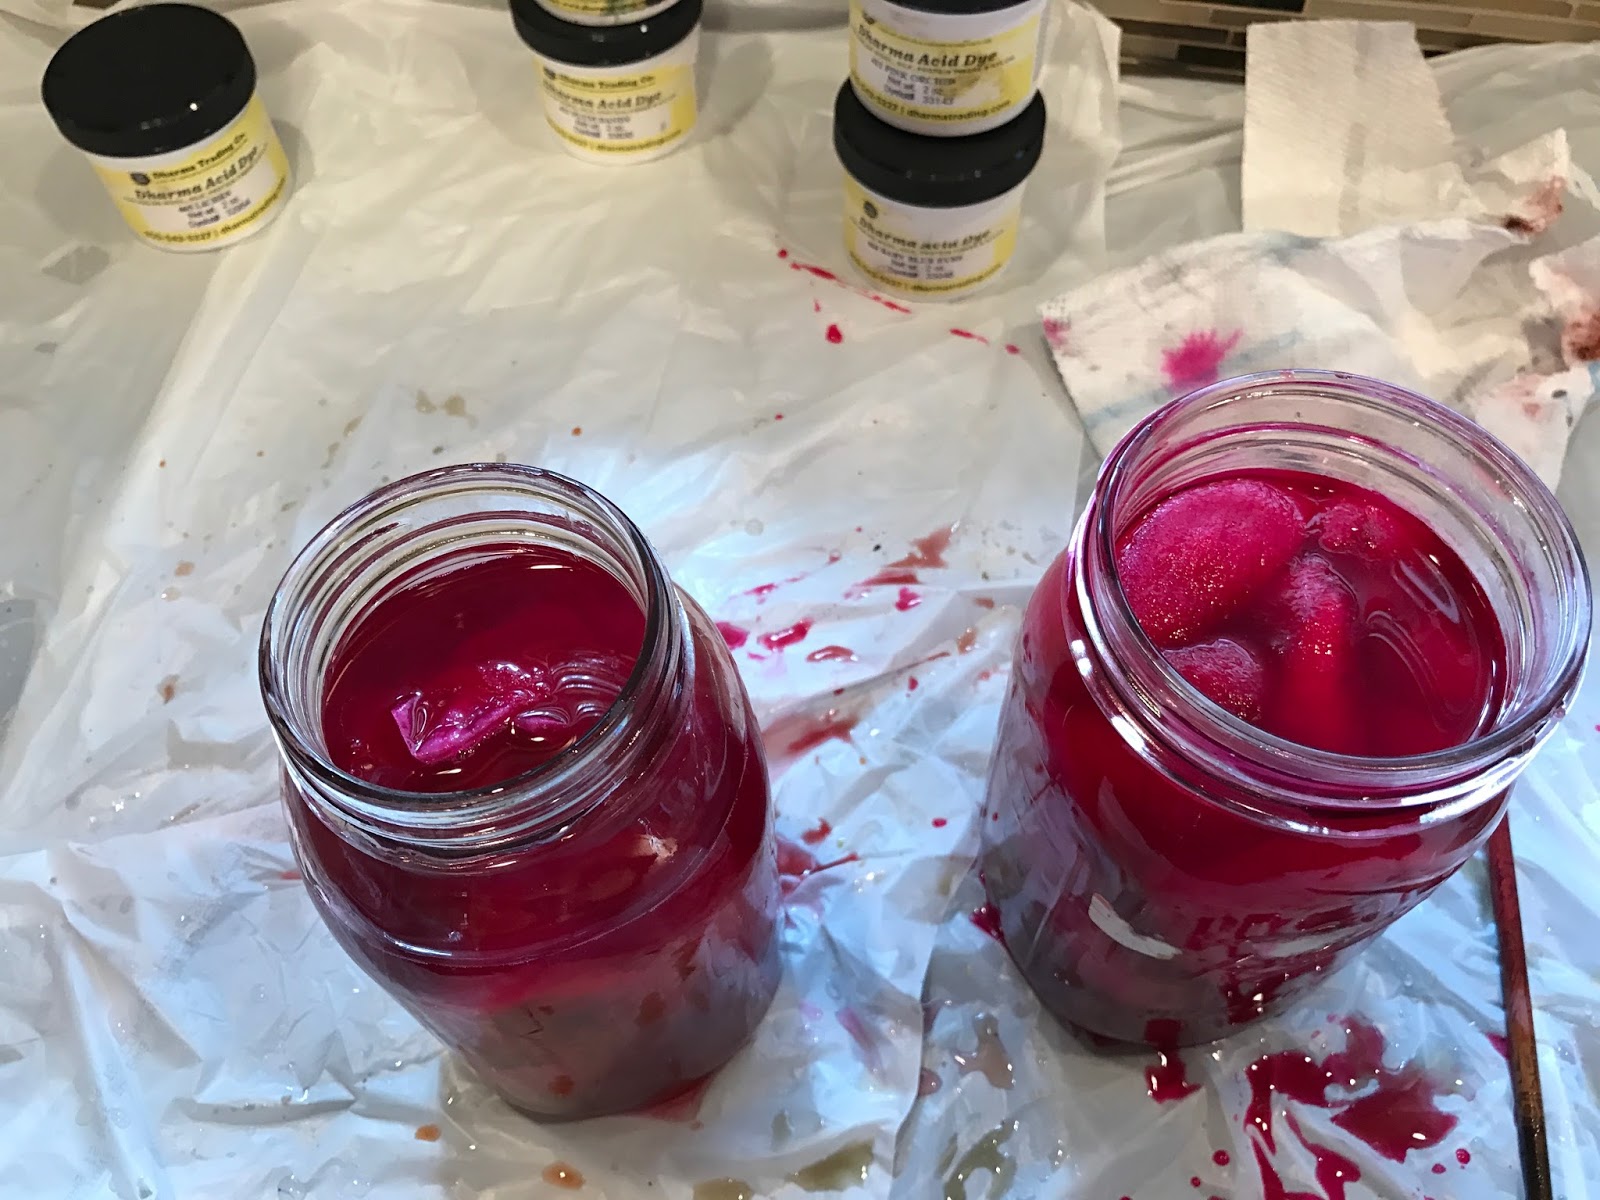
| Wool roving is carefully added to the acid dye. |
 |
| Acid dyes were created by mixing various Dharma colors togerther. |
 |
| Finished silk fabrics |
 |
| White wool roving dyed with acid dyes |
 Once the silk fabrics and wool rovings were dyed and dried, I compiled them along with other fabrics and textiles that I planned to use on the piece.
Before I started my design layout, I first created pre-felts with silk fabrics and one layer of wool roving. I rolled it about 200 times until it was substantial enough to pick up but not completely felted. I later cut these prefelts into various shapes and placed them on both silk fabric and wool roving. They will adhere to silk fabric since they are backed with wool roving.
 |
| I laid silk fabrics for the reverse side of the piece. |
 |
| I added one thin layer of roving using both white and dyed roving. |
 |
| Here's the work in progress layout on my felting table. Staring size was 444" x 92". |
 |
| Work in progress showing prefelts cut into abstract flower shapes. |
 |
| Work in progress |
To the bottom layer of silk fabric and wool roving, I created my design by cutting the prefelts into various shapes. I added layers of fabrics, new and repurposed textiles including vintage sari silks, and wool roving to create my desired design which starts off as an rectangle.
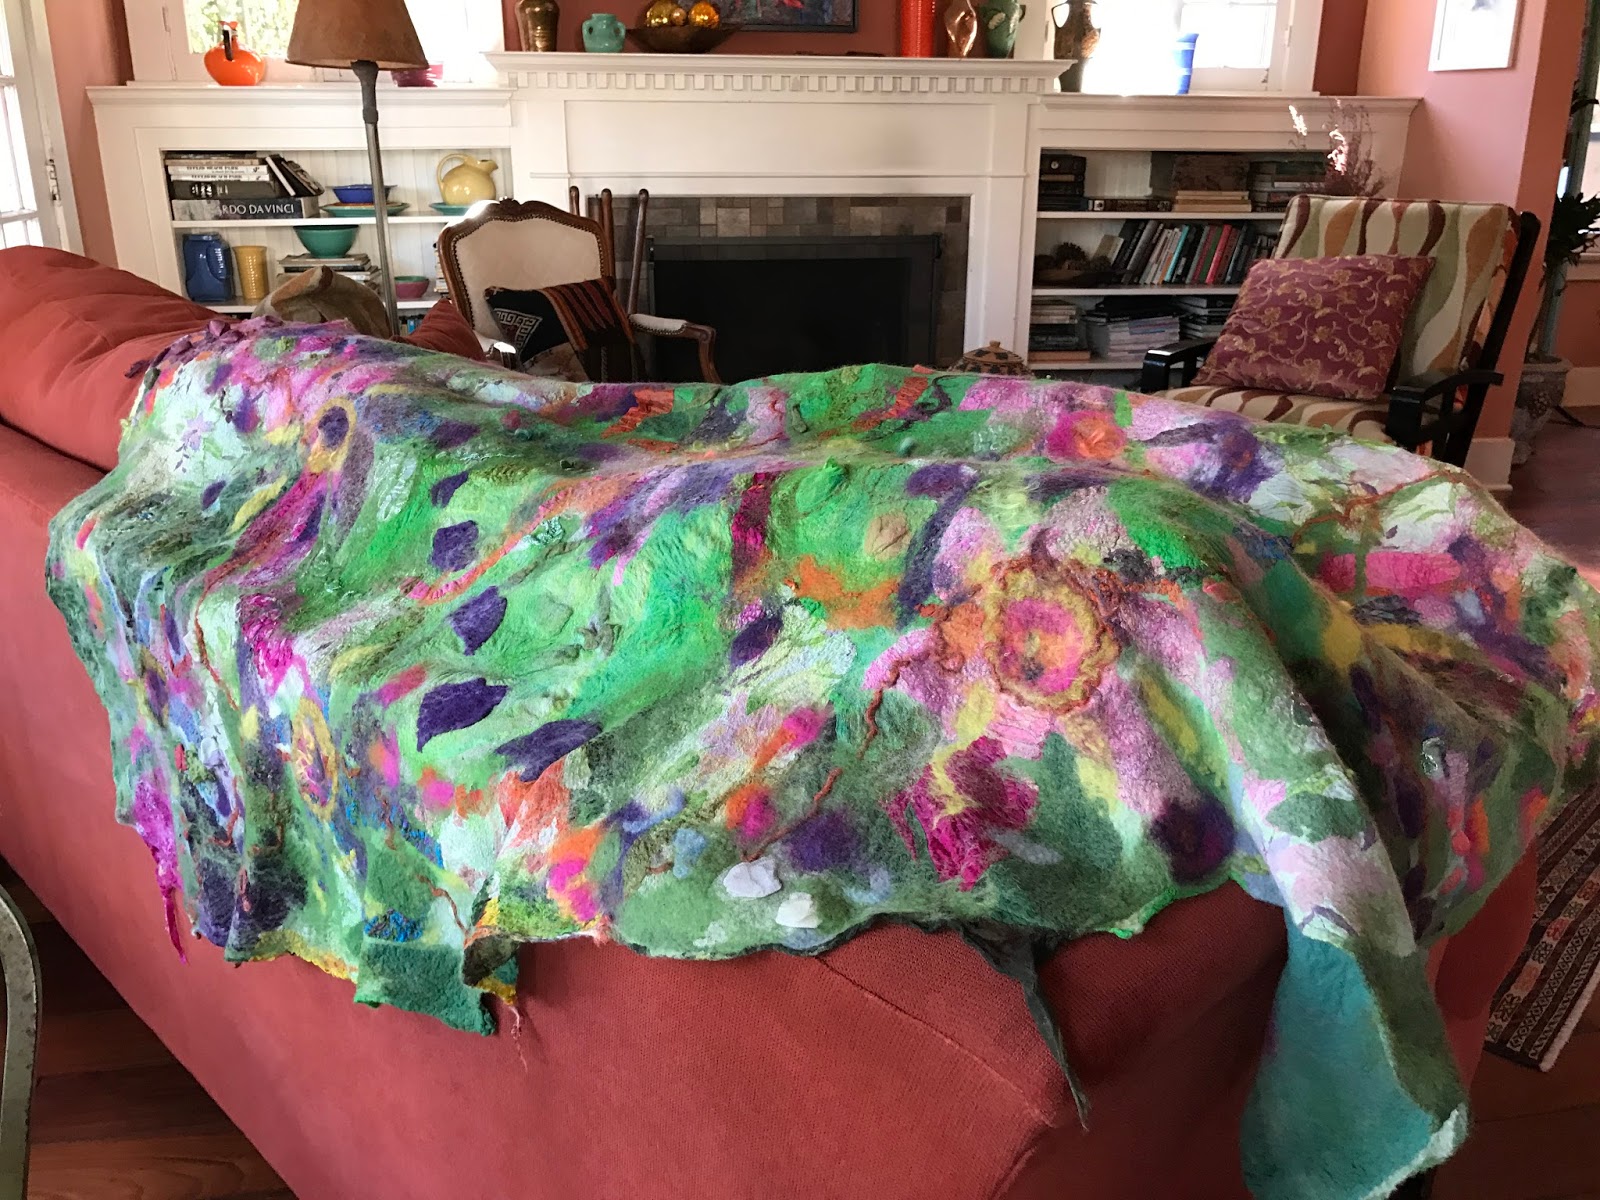
The felted piece shrunk about 35% overall ending up at about 31" x 53". The drape is amazing and it looks terrific as a couch cover.
I think my felted piece captures the essence and feeling of the painting.
It can be worn as a shawl inside out or right side out. Try it upside down and how about as a wrap skirt with a shawl pin. The drape is amazing.
A felted piece meant as a piano cover but it can be a wearable piece of art as well as a flat piece.


