
Just ask any felter what their least favorite part of the process is and most will say the rolling. And yes I concur with this consensus; it is in fact my least favorite part. On the other hand, I have to say it's a pretty good work out and I've developed some fairly decent upper arms from it. Sometimes I even throw in a few squats at the same time as part of my multi-tasking mentality. Although I've heard lately that they say it's impossible to multi-task...really now.
And to help pass the time, I usually put my iPad on the table and turn on some mindless show or some interesting TED talks. Once in a while, I'll bring my roll into the other room, put it on the floor and use my feet to roll while I watch TV on the big screen. So given all of this, I try to make the best out of rolling.
GO AHEAD AND READ THIS BLOG IN FULL AND THEN GO TO: https://www.studio907.com/2020/01/renewed-no-roll-felting-dryer-method.html TO SEE SOME GOOD UPDATES THAT I'VE MADE TO THE NO ROLL DRYER METHOD.


But a recent Facebook post by Patricia Spark referencing the dryer method for felting, which is a popular substitute for rolling, got me thinking that I should try it again. I had in fact tried it some time ago but I had not been very pleased. I think it had to do with what I was making at the time which was a big garment with a resist.
But this time I was working on a simple 30"x30" square that is going to be used as either a table accessory, pillow cover, quilt piece or something similar, and thought I'd take another crack at this dryer method for felting.


First off, I created the piece in my usual method by laying out my roving on a large piece of bubble wrap with bubbles up. I wetted out the piece with the ball browser which I definitely prefer to the garden sprayer. I then covered the work with with another large piece of bubble wrap (bubbles down)and then wet the bubble wrap so that my hands glide to compress it for several minutes. At this point, I would normally start my rolling.
But this time, I did the following for the no roll dryer method:

1. I folded over the bubble wrap to make a small package. My 30"x30" square was still in tack.
2. I used a wet towel and rolled it up like a sausage roll. I put that at the edge of my bubble wrap.
3. I rolled up the sausage towel inside the bubble wrap.


4. I put a fresh towel under the package and rolled everything up inside it.

6. Into the dryer it went for 10 minutes. Set it for no heat or just damp dry. It's the thumping agitation, not the heat, that will "no roll" felt the piece for you. And while it's doing it's thing, you have time to get other stuff done...or not!

7. After the 10 minutes, take it out, open it up and re-roll it with the wet sausage towel at the other end. Re-roll it with the outside towel, secure it with the ties and pop it back into the dryer for anther 10 minutes. Again relax or do your thing.

8. Remove the outer towel, the sausage towel, and open it up. Assure it is secure.

Proceed as your normally would to full the piece: roll it on itself, slam it, rub it.
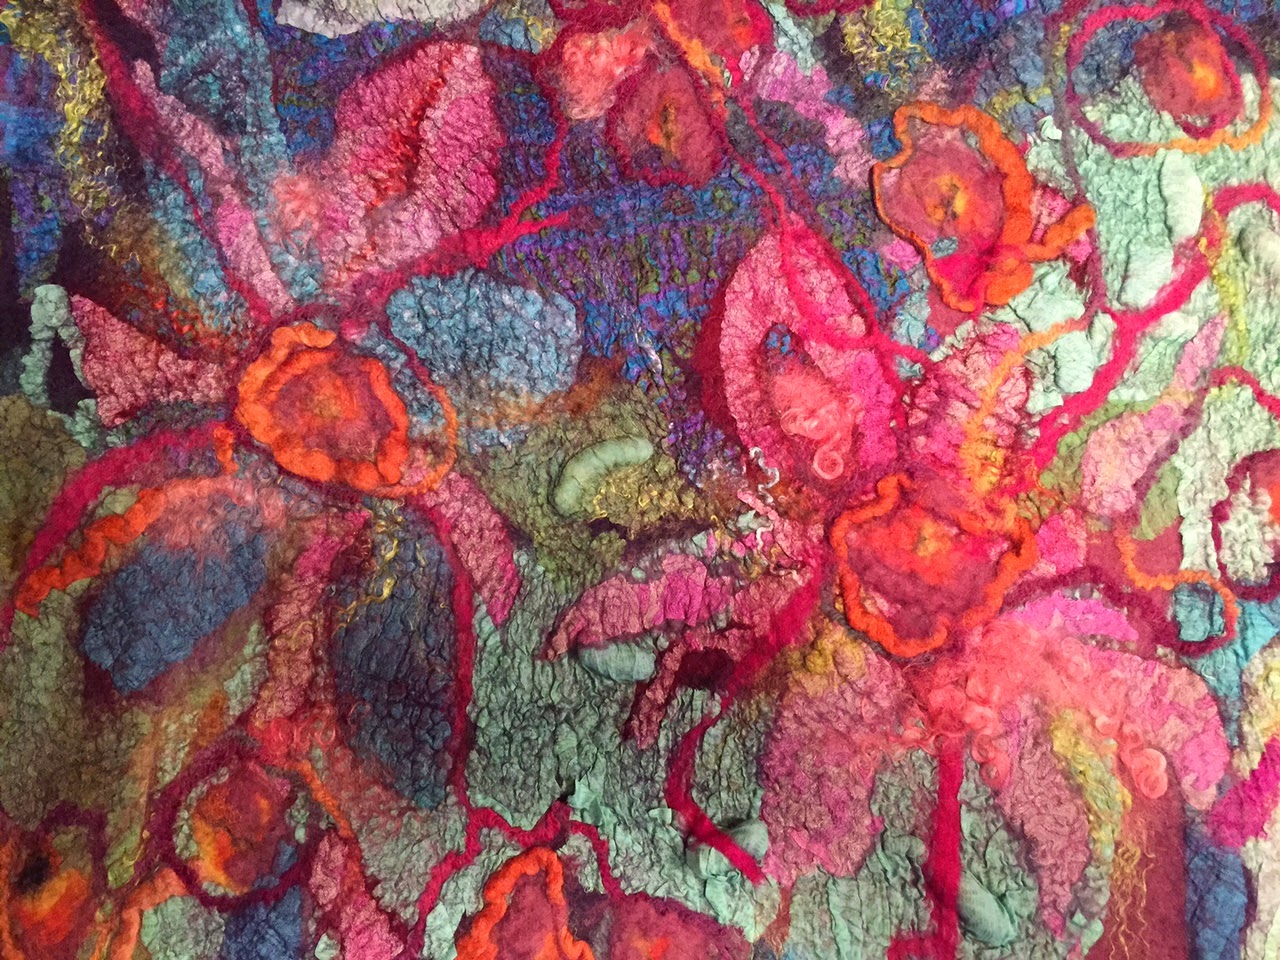
And just like that, it's a beautiful felted piece.
and freaking gorgeous. thanks for the tutorial and enlightenment.
ReplyDeleteThank you so very much.
ReplyDeleteThat is amazing. I shall definitely have a go with this method.
ReplyDeleteDid you start out with something under the roving? Chiffon or another piece of felt or something? Or did you just start with roving right on the bubble wrap?
ReplyDeleteHi Julie, I usually use thin silk under the roving for nuno felting or no silk at in which case I use two or more layers of roving laid perpendicular.
DeleteWhat's with the microwave in the picture?
ReplyDeleteThe only thing in the microwave is the plate that rotates when the microwave is on.
ReplyDeleteWhen you say you folded over your bubble wrap are you meaning that you just folded the wrap over the roving and not folding the roving itself?
ReplyDeleteAlso, for the wet towel, are you folding the towel up without the roving bubble thus using the wet towel sausage roll in place of a dowel rod or pool noodle for regular nunu felting?
When you say you folded over your bubble wrap are you meaning that you just folded the wrap over the roving and not folding the roving itself?
ReplyDeleteAlso, for the wet towel, are you folding the towel up without the roving bubble thus using the wet towel sausage roll in place of a dowel rod or pool noodle for regular nunu felting?
Thank you for this tutorial!! I am going to try this today :)
ReplyDeleteThank you Patty. You will love this method. I usually use it on my scarves and smaller pieces but not with pieces I am making with a resist.
DeleteTammy, The roving is completely covered top and bottom in the bubble wrap. My bubble wrap was much wider than my roving so I just folded in the excess. I did not fold the roving. And yes, I used the wet rolled up towel in place of the pool noodle.
ReplyDeleteI always thought it was my singular lack of patience with rolling. Had assumed that most feltmakers were better at meditation. I've used this cold dryer method with resists (hats). Works fine. They are a lot smaller than garments. There is also a tutorial on TreetopsColours. But your's has more pics. Thank you for sharing!
ReplyDeleteThank you thank you thank you. Knew I kept my dryer for a reason. My new felting group, the blind leading the blind will love this.
ReplyDeleteCheers
MAHALO NUI LOA! I am totally hooked on Nuno Felting, but also so sick of rolling, rolling, rolling. I even resorted to trying a sander, but the noise and vibration take away any Zen moments I've achieved during the creation process. Even with our expensive Hawaii electricity, I look forward to trying this on a new creation this week.
ReplyDeletecould u iron the felt to make it smoother?? seems very wrinkled
ReplyDeleteYes, you can iron it but the wrinkles are what I want which is the ruching you get when the wool shrinks but the silk fabric does not.
DeleteOh mine gosh! This has saved me. I was felting a scarf (just wool) and it would not felt! I had rolled, used a sander and of course used my hands with no luck. I tried following your directions and it really worked! Thank you so much! I know I will be making more “stuff” 😋
ReplyDelete