
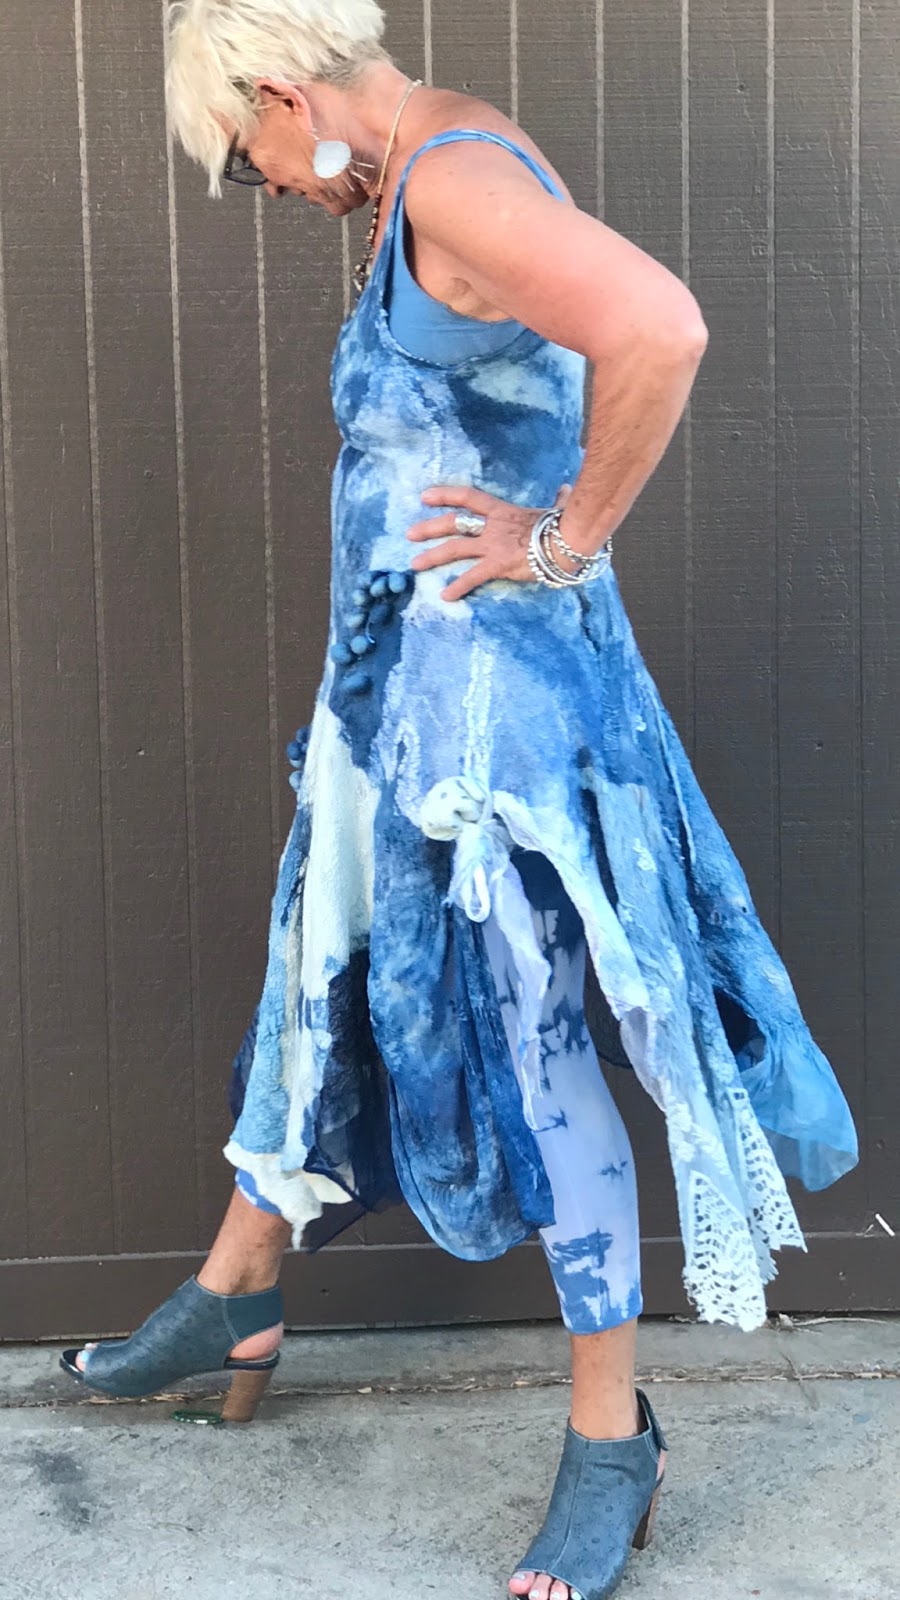
I am really into indigo and now that my hair is platinum and no longer red, I have been wearing a lot of blue. Indigo is my blue of choice and since it is a natural color, it is actually is a beautiful color on all skin types and hair colors.
I decided to make an indigo dyed full skirted dress for myself starting with various white prefelts. Above is a pic of the indigo dyed prefelts along with fabrics and wool roving that I also dyed in the indigo pot.
 |
I made a few prefelts: 1. one layer of sheer silk silk gauze with one layer of merino wool roving. 2. two layers of merino wool roving laid perpendicular to each other and 3. one layer of silk habotai and one layer of merino wool roving.
I wetted them out and then rolled each a few hundred times just to the prefelt stage. |
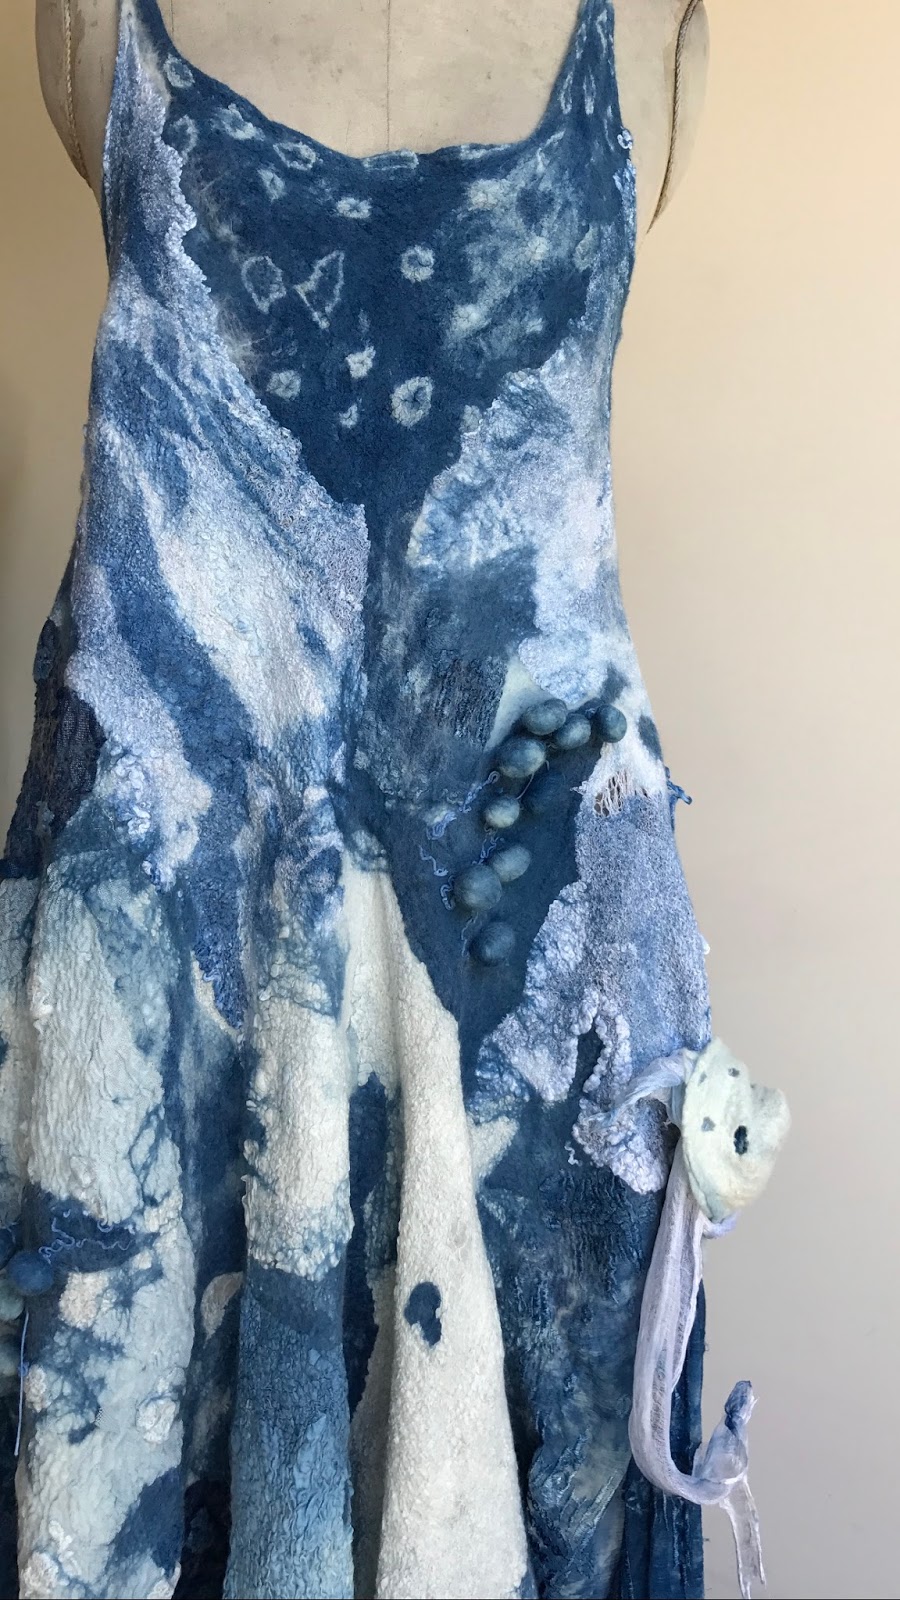
Once it was at the prefelt stage and could be picked up carefully, I shibori bundled and tied it as in various ways with the wool side up 1. Flat marbles closed with small hair type rubber bands, 2. stones closed with large rubber bands, 3. pinching up the fabric and tying it with Japanese cotton thread, 4. making balls from wool roving and enclosing them in the prefelt and tying them off with Japanese cotton thread.
Lesson learned: Decide if you want to make your shibori bundles with the wool side facing up, which I did, or the silk side facing up. It may make a difference depending on how you want to use it to create your felted garment.
 I
I
Following Dharma Trading's recipe for using Indigo crystals, I made my pot and starting dipping and dyeing wearing my trusty long yellow gloves.
 |
| To remove the flat marbles, I stuck a needle between the wrapped rubber band and then cut it with a small scissors |
 |
| This is the silk side of the marbles and stones which I liked better than the wool side. |
 |
| The photo above is the wool side of the pinched fabric tied with Japanese cotton thread. I like the silk side better in the photo below. |
STAY TUNE FOR PART 2 - THE REVEAL OF THE FINISHED DRESS...
FOR THE REVEAL OF THE DRESS, GO TO:


