What's cuter, quicker and easier to create than felted booties and a matching hat for a darling handmade gift for a newborn baby.
Both the booties and hat are reversible but I do have to say that I completely forgot to add shrinkage to the hat template so the original hat (including all the photos in the tutorial) is going to be a hat for a doll! I made a new hat for the baby using a larger template. It's the hat with the felted flower on the side. I sewed a pin on the back so that the flower can be removed.
I used foam packing material for the resists; floor underlayment is good too but more expensive.
The booties are made in one piece and later cut apart after the felt is somewhat substantial. The bootie resist is 6" from toe to heel and 9" from side to side.
I forgot to allow for shrinkage for the hat so all of the photos of the hat are a doll size. For my second try, I made the baby hat resist 13" wide and 10" deep to allow for a brim.
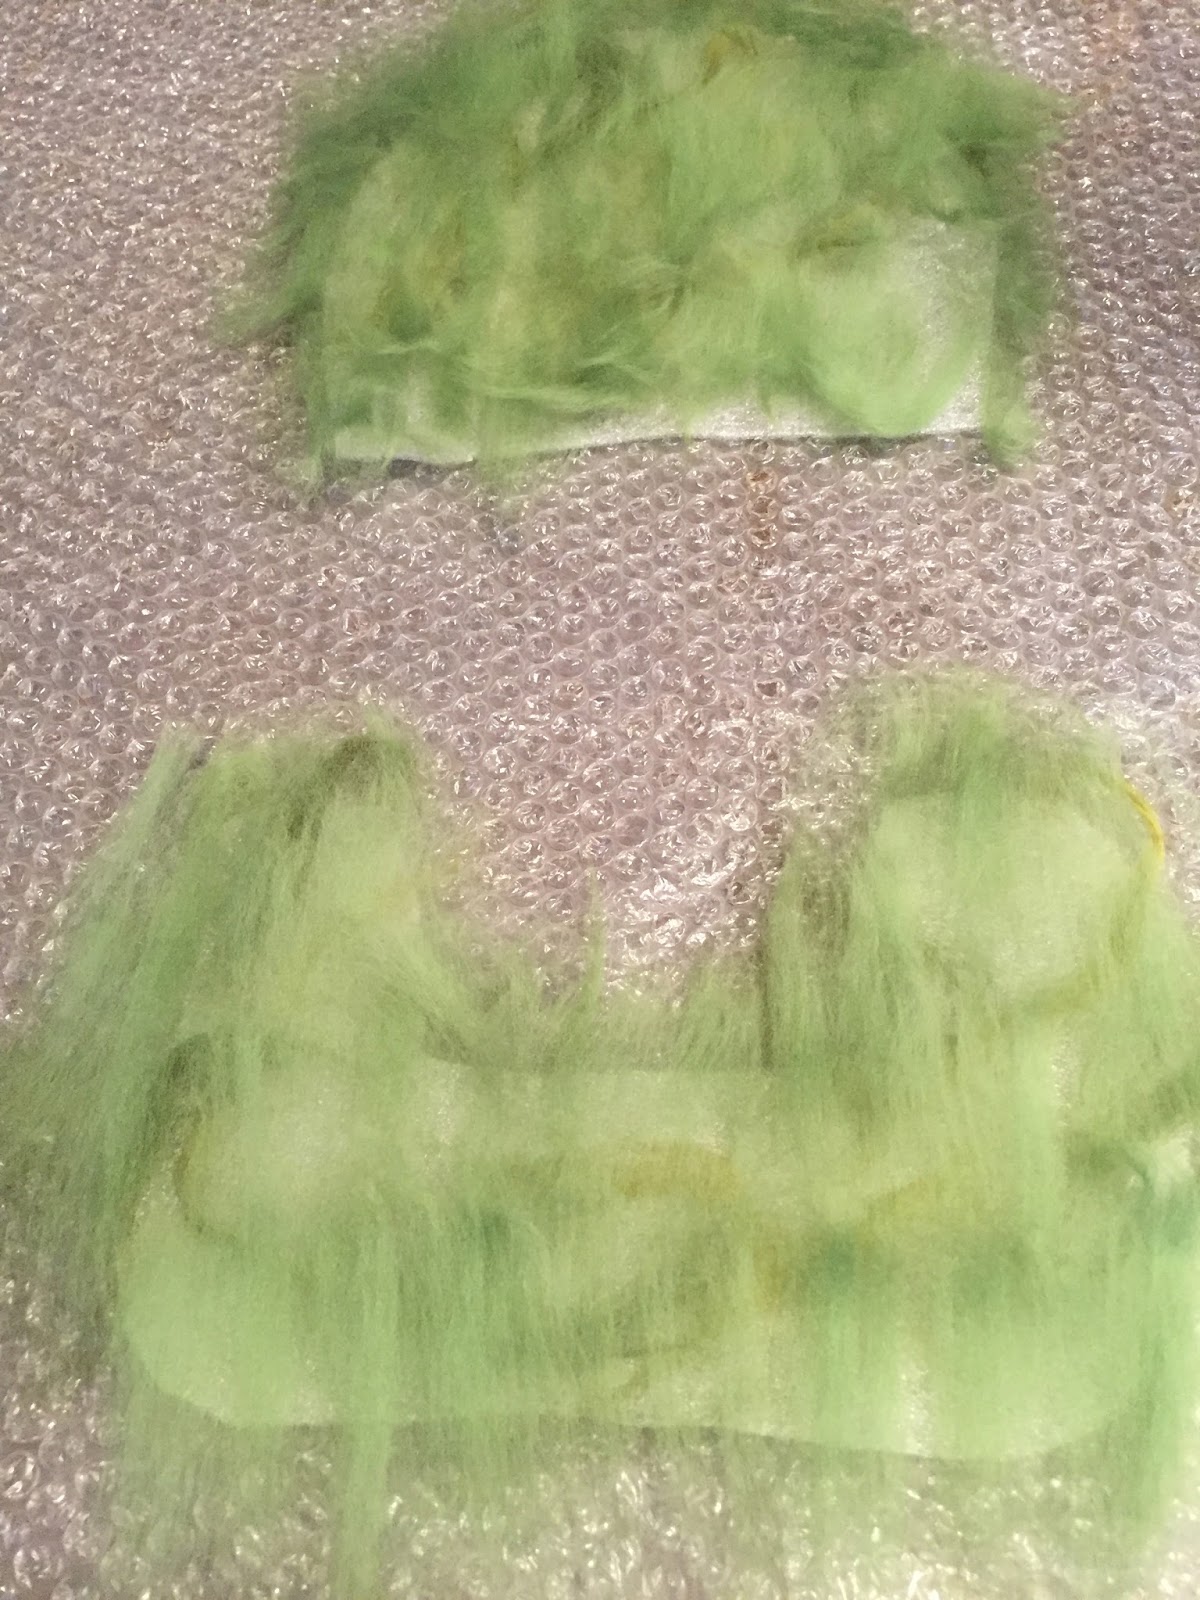
Add embellishments to the resist. I used green hemp and silks.
On top of the embellishments, add one layer of merino wool roving with all of the fibers going in one direction and extending beyond the resist by about 1.5" except on the open end of the hat.
Place the second layer of merino roving perpendicular to the first layer. Also extend this layer beyond the resist by 1.5". I used green merino roving for both of these layers. Wet out the layers and cover with bubble wrap. Wet the bubble wrap and compress the fibers with your hands. The wet bubble wrap allows your hands to slide.
Flip the package so that the side you worked is now on the bottom.
Bring the "rays" from the first side to the second side of the resist.
Add two more perpendicular layers of green roving but do not extend these two layers beyond the resist.
Add two more layers of roving, each perpendicular to the layer before. I used magenta merino roving for these next two layers.
Extend both layers beyond the resist by about 1.5"
Add embellishments. Wet out the bubble wrap and compress the fibers with your hands. Flip the package.
Bring the "rays" from the bottom to the top side of the resist. Add two more layers of magenta roving, each perpendicular to the layer underneath. Do not extend the roving beyond the resist. Add embellishments. Wet out and rub the bubble wrap. Flip and rub the bubble wrap on the other side. No need for rolling. Use the no roll/dryer method for this small project. Click HERE to see how to do it.
After the felting process has been completed via the dryer method, move on the to fulling process by rolling it on itself, throwing it, and rubbing it on the bubble wrap.
Cut through the felt in the middle of the booties to make two booties but do not cut the resist. Make a cut in the front of each bootie.
Continue with these fulling methods until it's complete. It's kind of like baking bread...it's complete when it's done!
Here's the updated baby hat with a pinned on felted flower that can be removed.


No comments:
Post a Comment