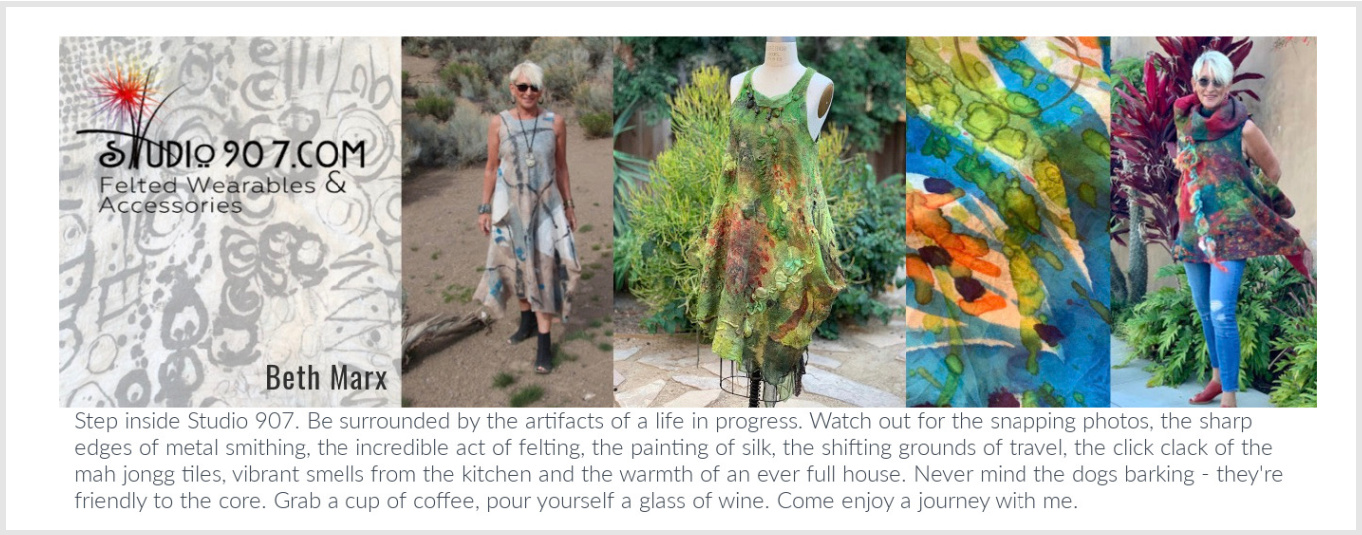
Wheww...it took me a while to figure out. Wasn't hard to make the button with good ol' Photoshop but it took some time to figure out all that HTML which has to be exact.
After much searching on the Internet, I came across a terrific, straight forward tutorial on how to make a grab button. Click HERE to not have to go through all the hassle and time that I did. I had a lot of problems and finally realized that for some technical reason, you have to replace the quote marks in the HTML with all new quote marks...go figure!
Once my grab button showed up on my blog, I tested it to assure it linked to my URL. I did this by: 1. copying the HTML from the grab button on my blog, 2. opening up another window with the blog layout, 3. selecting add a gadget and selecting the choice of HTML/JavaScript from the Basics category. 4. pasting the code. To not mix things up, I put this gadget at the bottom of the page instead of on the side with the actual grab button. Then view your updated blog and click on the new button at the bottom of the page. If you get an error message and it does not properly take you to your URL, you have an error in your HTML which you'll have to troubleshoot. For me, I needed to add www into my URL. I retested it to assure it worked and then deleted the temporary gadget. Eureka, it finally worked and I feel so accomplished!!
My grab button with it's code is over on the right hand column with all of of my other buttons. Now you can copy the code to your blog. Thanks.


No comments:
Post a Comment